Introduction to Eyeliner Stencil
For those who cherish the art of makeup, precision is essential, particularly when it comes to eyeliner application. Perfecting eyeliner can often feel daunting, but the advent of eyeliner stencil has transformed the game. With these handy tools, individuals can achieve symmetrical lines and tailored shapes without the stress of freehand application. In this comprehensive guide, we will explore what eyeliner stencils are, their various benefits, and how to utilize them effectively for flawless results.
What is an Eyeliner Stencil?
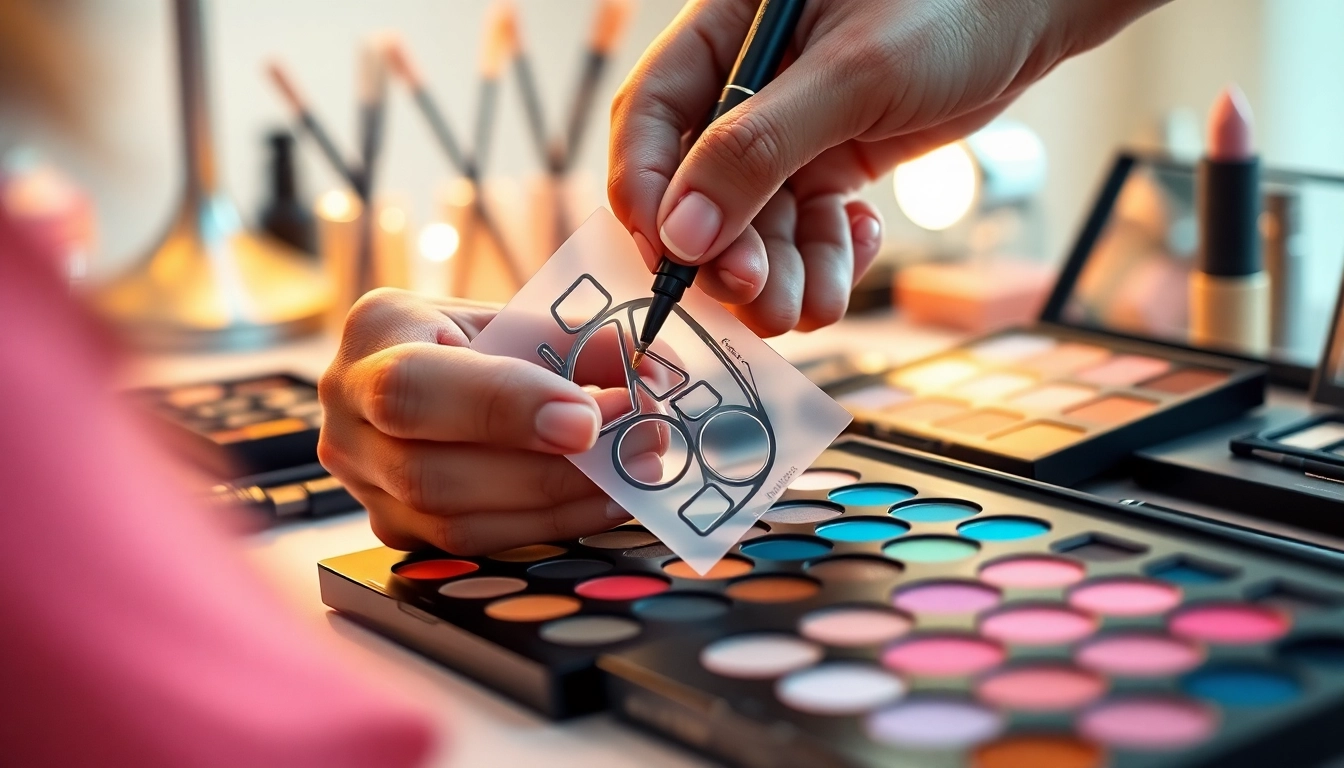
An eyeliner stencil is a tool designed to assist with the application of eyeliner, providing a guide to achieve defined and consistent results. Typically made of flexible materials, these stencils come in various shapes to suit different eyeliner styles, such as wings, cat eyes, or smoky effects. By placing the stencil against the eyelid, users can fill in the designated area without worrying about uneven lines or smudges.
Benefits of Using Eyeliner Stencils
The benefits of using eyeliner stencils extend beyond mere convenience. Here are a few compelling reasons to integrate them into your makeup routine:
- Precision: They remove guesswork, ensuring you achieve the same look every time.
- Time-saving: Reduce application time significantly – perfect for busy mornings or quick touch-ups!
- Beginner-friendly: Great for makeup novices to help build confidence in application.
- Variety: Explore different looks and shapes without the risk of error, expanding your makeup repertoire.
Types of Eyeliner Stencils Available
When selecting an eyeliner stencil, you’ll find a wide array of options tailored to fit a range of styles and eye shapes. Here are some popular types:
- Winged Stencils: Perfect for those who prefer a dramatic look with extended eyeliner at the corners.
- Cat Eye Stencils: Specifically designed to help achieve the iconic cat-eye look, with defined edges.
- Double-winged Stencils: For bold makeup lovers, these stencils provide extra flair with dual wings.
- Pencil-style Stencils: Useful for a more subtle, everyday look that demands less intensity.
Choosing the Right Eyeliner Stencil
Selecting the right eyeliner stencil is crucial for achieving your desired look. Below are some key aspects to consider:
Matching Stencil Styles with Eye Shapes
Understanding your eye shape is the foundation of successful eyeliner application. Different shapes may complement specific stencil designs:
- Almond Eyes: These can pull off various stencil styles, but winged and cat-eye are particularly flattering.
- Round Eyes: Opt for stencils with more extended wings to elongate and enhance their natural shape.
- Hooded Eyes: Choose finer designs that don’t overwhelm the eyelid space, focusing on subtle definition.
Material and Design Considerations
The material and design of the eyeliner stencil are fundamental aspects in your decision-making process:
- Flexible Materials: Soft, pliable materials provide a comfortable grip and a snug fit on the eyelid.
- Reusable vs Disposable: Some stencils are designed for multiple uses, while others are one-time use. Consider your makeup habits before choosing.
- Size and Transparency: Opt for stencils that are the right size for your eyelids and ideally semi-transparent, allowing for accurate alignment with your natural eye shape.
Tips for First-Time Users
Using an eyeliner stencil for the first time can be a learning curve. Consider these tips:
- Practice: Before applying with your favorite eyeliner, practice with a pencil to gauge angles and positioning.
- Be Patient: Don’t rush the process. Take your time, especially when aligning the stencil.
- Use Tape or Adhesive: If the stencil doesn’t stay in place, consider using gentle tape or a makeup adhesive for stability.
Application Techniques for Eyeliner Stencil
Mastering the application of your eyeliner stencil can enhance your overall makeup look dramatically. Here’s how to get it right:
Step-by-Step Guide to Applying Eyeliner
Follow these simple steps to apply eyeliner using a stencil:
- Prepare Your Eyes: Start with a clean eyelid. Apply an eyeshadow primer to ensure longevity.
- Position the Stencil: Hold the stencil firmly against your eyelid, ensuring it aligns with the natural crease.
- Fill in the Stencil: Use your eyeliner to fill in the area inside the stencil. For a bold look, apply more makeup; for a subtle effect, use less.
- Remove the Stencil Slowly: Carefully pull away the stencil to reveal the defined eyeliner shape.
- Perfect the Look: Use a brush or cotton swab to clean up any excess or sharpen the edges for a polished finish.
Common Mistakes to Avoid
Being aware of common pitfalls can save you time and frustration. Here are a few mistakes to watch out for:
- Misalignment: Always ensure the stencil is correctly aligned with your natural eye shape for the best results.
- Heavy Handedness: Applying too much pressure can lead to uneven lines. Use light strokes instead.
- Ignoring Eye Shape: Not all stencils are suitable for every eye type; choose ones tailored to your shape.
How to Fix Eyeliner Mistakes
Even the pros make mistakes! Here’s how to remedy common eyeliner errors:
- Smudges: Use a clean brush or cotton swab to blend and repair areas where the eyeliner might have smudged.
- Uneven Lines: Correct any discrepancies with a cotton swab dipped in makeup remover to refine the shape.
- Too Thick Lines: For those who prefer a thinner line, use a concealer brush to carve out the width and achieve the desired finesse.
Eyeliner Stencil Maintenance and Care
To ensure longevity and hygiene, proper maintenance of your eyeliner stencils is crucial. Here are some guidelines:
Cleaning Your Eyeliner Stencils
Regular cleaning can help maintain the quality of your stencils and prevent any transfer of bacteria:
- Use Mild Soap: Clean with gentle soap and warm water to ensure they are free from makeup residue.
- Rinse Thoroughly: Make sure to rinse them completely to remove any soap residue, which can affect future makeup applications.
- Air Dry: Lay them flat to dry completely to avoid warping.
How to Store Eyeliner Stencils Properly
The way you store your stencils can impact their durability:
- Keep Them Flat: Store stencils flat to prevent bending or damage to their shapes.
- Avoid Humidity: Place them in a cool, dry area to avoid warping or degradation of material.
- Use Cases: Consider using a case or organizer to keep stencils together and easily accessible.
When to Replace Your Stencil
Typically, the lifespan of an eyeliner stencil depends on how often it’s used and how well it’s maintained. Here are signs to look for indicating replacement:
- Wear and Tear: If the stencil shows visible signs of damage or is warped, it’s time to replace it.
- Loss of Flexibility: If it no longer holds its shape properly, it won’t achieve desirable results.
- Stains: Persistent discoloration may prevent accurate application, signaling it’s time for a new one.
Frequently Asked Questions about Eyeliner Stencils
Can anyone use an eyeliner stencil?
Yes, eyeliner stencils are designed for everyone, whether you’re a beginner or a makeup professional, making eyeliner application easier for all skill levels.
Are eyeliner stencils reusable?
Many eyeliner stencils are reusable, especially those made from durable materials. Proper cleaning and maintenance will prolong their lifespan.
How do I find my perfect eyeliner shape?
Understanding your eye shape is key. Experiment with different stencils to discover what enhances your features while considering your personal style.
Can I use eyeliner stencils for other makeup?
Absolutely! While designed for eyeliner, they can also be used for defining other areas, such as eyebrows or creating cut-crease effects in eyeshadow.
What should I do if the stencil doesn’t stay in place?
If your stencil slips, try using a gentle adhesive designed for makeup or some clear tape to secure it better during application.